Introduction
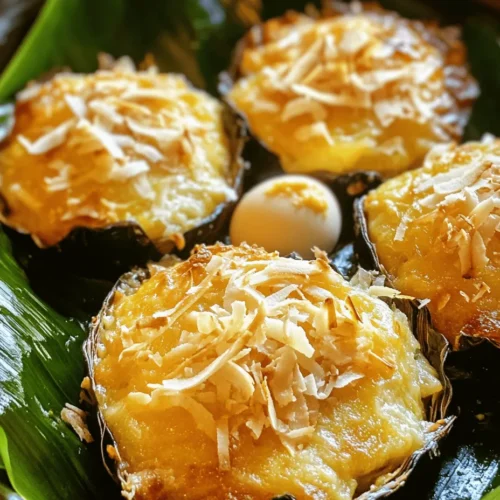
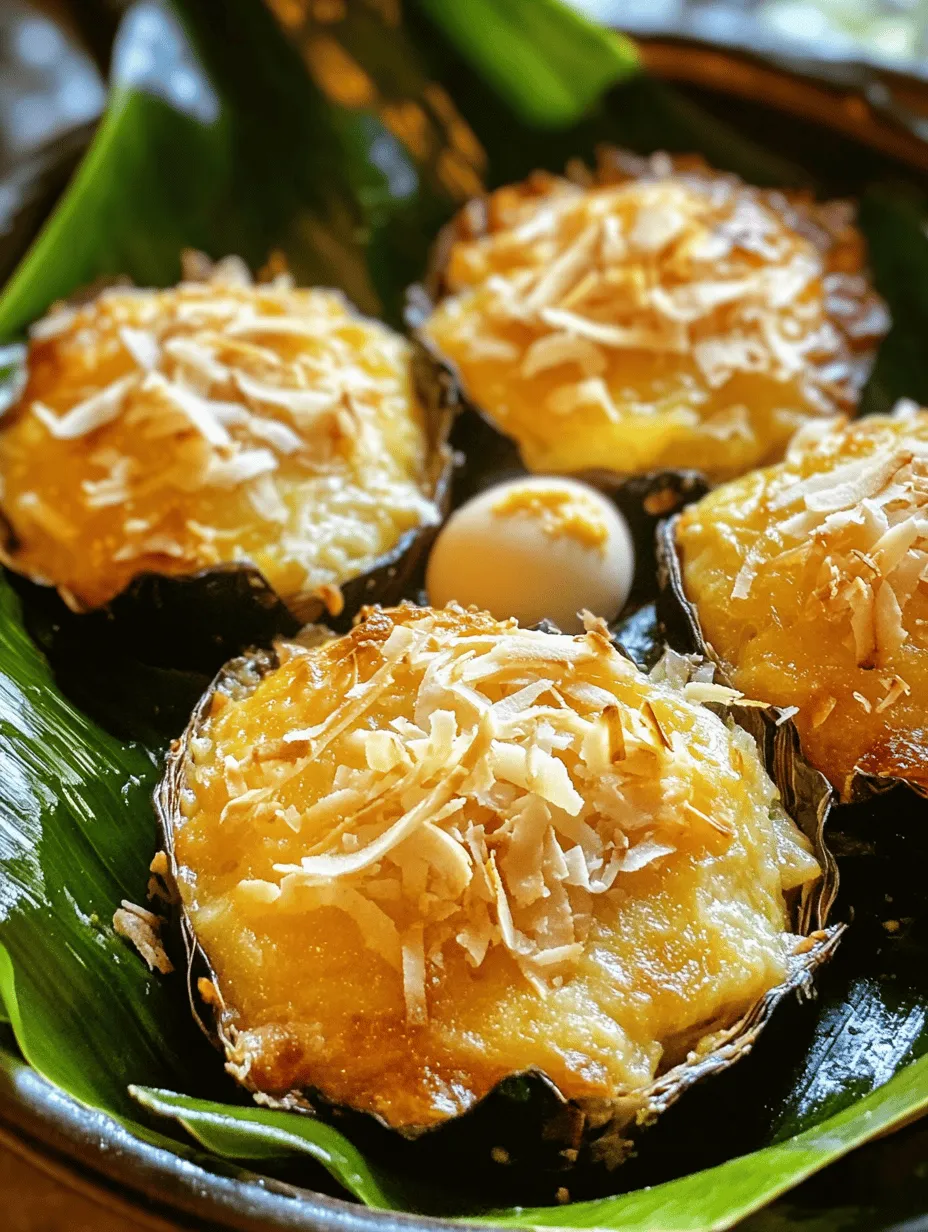
Bibingka, a traditional Filipino delicacy, is a beloved treat that embodies the rich culinary heritage of the Philippines. Originating from the country’s diverse and vibrant culture, bibingka is typically served during Christmas celebrations, particularly during the “Misa de Gallo,” or the early morning masses leading up to Christmas Day. This delightful rice cake is cooked using a unique method that results in a soft, fluffy texture, often infused with the aromatic flavors of coconut and sometimes topped with various ingredients like cheese or salted eggs.
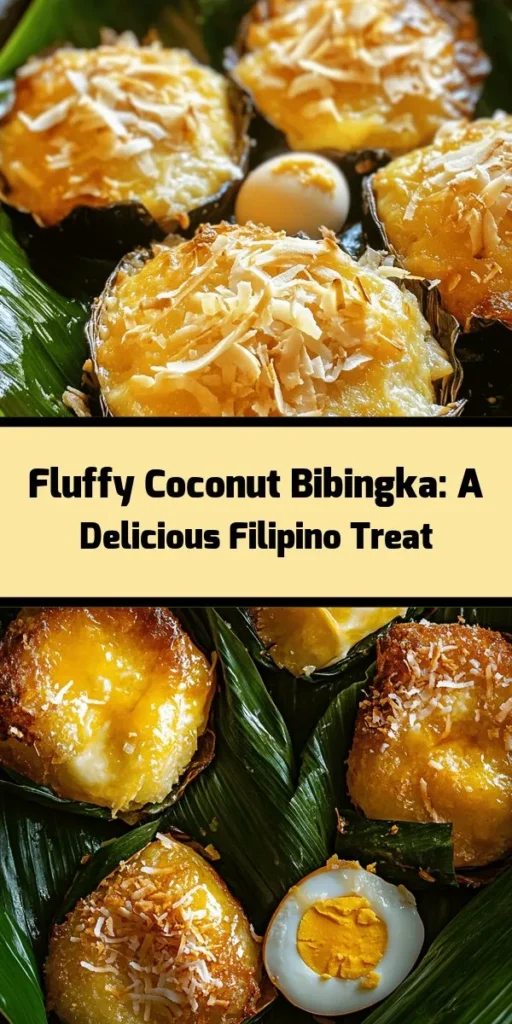
Today, we’ll introduce you to the Fluffy Coconut Bibingka Delight, a modern twist on the classic recipe that showcases the irresistible flavors of coconut. This version not only highlights the traditional elements but also embraces a more refined and fluffy texture that sets it apart. The key to achieving the perfect bibingka lies in using high-quality ingredients that bring out the authentic taste and aroma of this beloved Filipino treat.
Exploring Bibingka: A Filipino Tradition
Bibingka is more than just a dessert; it is a symbol of Filipino culture and tradition. Traditionally made from rice flour, bibingka is steamed or baked in clay pots lined with banana leaves, which impart a subtle flavor while keeping the cake moist. The preparation of bibingka often varies by region, with each locality adding its unique touch and ingredients. In the northern regions, for example, the bibingka may feature a more pronounced coconut flavor, while in southern areas, it might include additional toppings like salted eggs or a dusting of grated cheese.
Historically, bibingka has roots that trace back to pre-colonial times when rice was a staple in the Filipino diet. As the country underwent various cultural influences, the recipe for bibingka evolved, incorporating ingredients from different regions and adapting to local tastes. Today, bibingka remains a cherished part of Filipino celebrations, often served alongside other traditional dishes during festive gatherings.
Coconut, a key ingredient in bibingka, plays a significant role in Filipino cuisine. It is often referred to as the “tree of life” due to its versatility—everything from its water to its meat and milk is utilized in various dishes. Coconut milk not only adds richness and flavor to bibingka but also offers numerous health benefits. It is rich in medium-chain triglycerides (MCTs), which are known to provide quick energy and support metabolic health. Furthermore, coconut is a source of dietary fiber, vitamins, and minerals, making it a wholesome addition to any recipe.
Ingredients Breakdown
To create the Fluffy Coconut Bibingka Delight, we will need a selection of carefully chosen ingredients, each contributing to the cake’s delightful flavor and texture. Below is a detailed breakdown of the essential components that will make your bibingka a true success.
– Rice Flour: This gluten-free alternative is the foundation of bibingka. Rice flour contributes a light and airy texture, which is crucial for achieving the fluffy consistency characteristic of this dish. Unlike wheat flour, rice flour allows the bibingka to maintain its softness while providing a subtle flavor that complements the other ingredients.
– Coconut Milk: Rich and creamy, coconut milk is a star ingredient in this recipe. It enhances the flavor profile of the bibingka, providing a luscious mouthfeel that elevates the overall taste. Additionally, the fat content in coconut milk helps to keep the cake moist, preventing it from drying out during the baking process.
– Sugar: Balancing sweetness is essential in any dessert, and sugar plays a pivotal role in our bibingka. Not only does it add the necessary sweetness, but it also promotes caramelization during baking, giving the top of the cake a beautiful golden-brown color. For the best results, consider using a combination of granulated sugar and brown sugar for a deeper flavor.
– Baking Powder and Salt: Baking powder acts as a leavening agent, helping the bibingka rise and achieve that desirable fluffy texture. A pinch of salt enhances the overall flavor, bringing out the natural sweetness of the cake and creating a well-rounded taste profile.
– Eggs: Eggs serve multiple purposes in this recipe. They act as a binding agent, holding the ingredients together while also contributing moisture. The proteins in eggs help provide structure to the bibingka, ensuring it holds its shape after baking.
– Grated Coconut: For an additional layer of coconut flavor and texture, grated coconut is incorporated into the batter. This ingredient adds a delightful chewiness to the bibingka, making every bite an indulgent experience.
– Cheese: One of the unique features of bibingka is the savory contrast provided by cheese. Typically, a mild cheese like queso de bola or cheddar is used, which melts beautifully during baking, creating pockets of gooeyness that balance the sweetness of the cake.
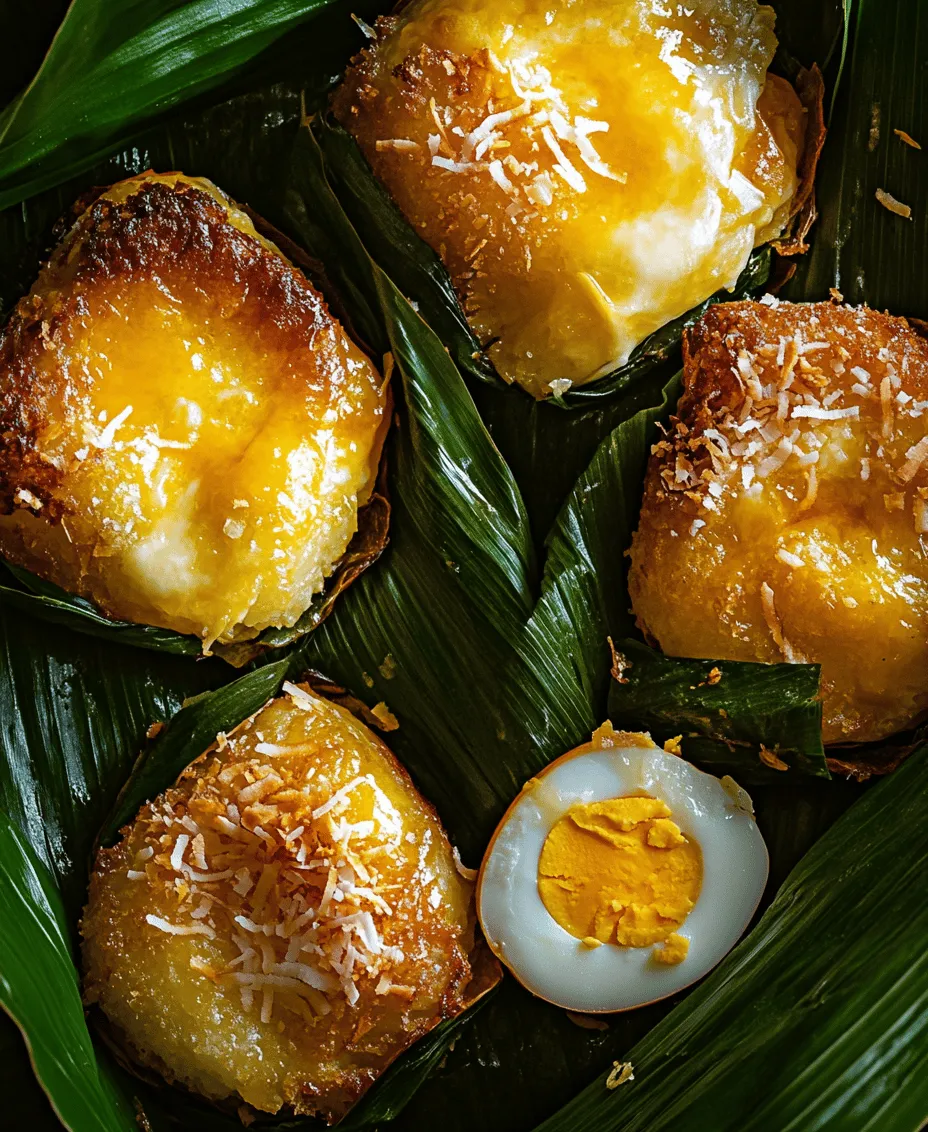
– Banana Leaves: Traditionally, bibingka is cooked in clay pots lined with banana leaves, which impart a subtle flavor while serving as a natural non-stick surface. The use of banana leaves also adds an authentic touch to the presentation, enhancing the overall aesthetic appeal of the dish.
Initial Steps
Now that we’ve explored the ingredients that will bring our Fluffy Coconut Bibingka Delight to life, let’s dive into the initial steps of preparing this delightful treat.
1. Preheat the Oven: Begin by preheating your oven to 350°F (175°C). This step is crucial to ensure that the bibingka cooks evenly and achieves the perfect rise.
2. Prepare the Baking Pan: Line a round baking pan with banana leaves, allowing some of the leaves to hang over the edges. This will not only prevent sticking but also enhance the presentation of your bibingka. If banana leaves are unavailable, you can use parchment paper as an alternative.
3. Mix Dry Ingredients: In a large mixing bowl, combine the rice flour, baking powder, salt, and sugar. Whisk these ingredients together until well blended, ensuring there are no lumps. This step is essential for creating a uniform batter and promoting even baking.
4. Combine Wet Ingredients: In another bowl, whisk together the coconut milk and eggs until fully combined. The richness of the coconut milk paired with the eggs will create a smooth and creamy mixture that forms the base of your bibingka.
5. Combine Dry and Wet Mixtures: Gradually pour the wet mixture into the dry ingredients, stirring gently with a spatula until just combined. Be careful not to overmix, as this can lead to a denser texture. The batter should be smooth and slightly thick, with a pourable consistency.
6. Add Grated Coconut and Cheese: Fold in the grated coconut and cheese, distributing them evenly throughout the batter. The grated coconut will enhance the texture, while the cheese will add that delightful savory touch that makes bibingka so special.
7. Pour into the Baking Pan: Carefully pour the batter into the prepared baking pan, spreading it evenly. Use a spatula to smooth the top, ensuring an even surface for baking.
8. Bake the Bibingka: Place the baking pan in the preheated oven and bake for about 30-35 minutes, or until the top is golden brown and a toothpick inserted into the center comes out clean. Keep an eye on it towards the end of the baking time to prevent over-baking.
With these initial steps, you’re well on your way to creating a delightful Fluffy Coconut Bibingka that captures the essence of this cherished Filipino dessert. Stay tuned as we delve deeper into the finishing touches and serving suggestions that will make your bibingka a show-stopping centerpiece for any occasion.
Butter: Richness and Finishing Touch
Butter plays a crucial role in the preparation of Fluffy Coconut Bibingka, not just as an ingredient but as a finishing touch that enhances the overall flavor profile. The rich, creamy texture of melted butter adds a luxurious mouthfeel, balancing the sweetness of the coconut and the slight saltiness from the optional toppings. Traditionally, the bibingka is brushed with melted butter immediately after it comes out of the oven, allowing it to soak into the warm cake. This step not only elevates the taste but also gives a beautiful glossy finish that makes the dessert visually appealing.
Optional Toppings: Sweetened Grated Coconut and Salted Duck Eggs
In Filipino culture, bibingka is often topped with sweetened grated coconut and salted duck eggs, which add layers of flavor and texture. The sweetened grated coconut offers a chewy contrast to the soft and fluffy cake, while the salted duck eggs introduce a savory component that perfectly balances the sweetness. These toppings are not just delicious; they carry cultural significance as well. Incorporating them into your bibingka connects you to the rich traditions of Filipino festivities, where this dessert is often enjoyed during Christmas and special occasions.
Step-by-Step Guide to Making Fluffy Coconut Bibingka
Preparing the Oven: Importance of Preheating and Banana Leaf Preparation
Begin by preparing your oven. Preheat it to 375°F (190°C) to ensure even baking. A well-preheated oven is essential for achieving the perfect rise and texture in your bibingka. Meanwhile, prepare your banana leaves. If you’re using fresh banana leaves, briefly pass them over an open flame or boil them for a few seconds to make them pliable. This prevents tearing and makes it easier to line your baking dish. If fresh leaves are unavailable, you can use parchment paper as an alternative.
Mixing the Batter: Techniques for Achieving a Smooth Batter
In a large mixing bowl, combine the rice flour, coconut milk, sugar, baking powder, and salt. Use a whisk to mix these dry and wet ingredients until you achieve a smooth, lump-free batter. The key here is to mix gently; overmixing can lead to a denser texture. If you prefer a lighter bibingka, allow the batter to rest for about 10 minutes. This resting period helps the rice flour absorb the liquids and contributes to a fluffier result.
Incorporating Coconut: Tips for Folding Ingredients Without Overmixing
Once your batter is smooth, it’s time to fold in the grated coconut. Use a spatula to gently incorporate the coconut into the batter. The folding technique is crucial here; you want to combine the ingredients without deflating the air bubbles you’ve created. This will maintain the lightness of the bibingka. If you’re adding any optional ingredients like cheese or additional coconut, do so at this stage, ensuring they are evenly distributed.
Pouring and Topping: Best Practices for Portioning and Decorating
Line your prepared baking dish with banana leaves or parchment paper, allowing some of it to hang over the edges for easy removal later. Pour the batter into the dish, filling it about three-quarters full to allow space for rising. If you’re using the salted duck eggs as a topping, slice them thinly and gently press them into the batter’s surface, distributing them evenly. This not only adds flavor but also creates an appealing presentation.
Baking Instructions: Understanding Baking Times and Indicators of Doneness
Place your baking dish in the preheated oven and bake for about 25 to 30 minutes. The bibingka is done when the top is golden brown and a toothpick inserted into the center comes out clean. You may also notice a slight puffing up of the cake, which is a good sign that it’s rising properly. Keep an eye on it towards the end of the baking time to prevent overbaking, which can lead to dryness.
Butter Brushing: Enhancing Flavor and Presentation Post-Baking
Once your bibingka is out of the oven, brush the top generously with melted butter while it’s still warm. This step is crucial for enhancing the flavor and adding that irresistible shine to the surface. The butter seeps into the cracks, enriching the taste and smoothing out any rough edges. Allow the bibingka to cool slightly before removing it from the baking dish for easier handling.
Serving Suggestions: Traditional and Modern Ways to Enjoy Bibingka
Fluffy Coconut Bibingka can be enjoyed warm or at room temperature. Traditionally, it is served during festive occasions with the banana leaves still wrapped around it, presenting a rustic charm. You can also slice it into squares or wedges for easier serving. Pairing it with a hot cup of coffee or a refreshing glass of coconut juice enhances the experience.
For a modern twist, consider serving bibingka with a scoop of coconut ice cream or a drizzle of coconut syrup. This not only adds a contemporary flair but also complements the coconut flavors beautifully. Some adventurous cooks even explore savory versions by incorporating herbs or spices, showcasing the versatility of this beloved Filipino treat.
Tips for Perfecting Your Bibingka
Common Pitfalls to Avoid When Making Bibingka
1. Overmixing the Batter: This can lead to a dense bibingka. Mix just until combined.
2. Inadequate Preheating: Skipping this step can affect the rise. Always preheat your oven.
3. Not Using Fresh Ingredients: Ensure your coconut milk and eggs are fresh for the best flavor.
Recommended Tools and Equipment for Ease of Preparation
– Mixing Bowls: Use a large bowl for mixing the batter and a smaller one for ingredients.
– Whisk: A good whisk is essential for combining dry and wet ingredients smoothly.
– Spatula: Perfect for folding in the coconut and pouring the batter.
– Baking Dish: A round or square dish lined with banana leaves or parchment paper works best.
Variations of Bibingka: Exploring Flavors and Ingredient Substitutions
While traditional bibingka is delightful, you can experiment with flavors. Consider adding pandan extract for a unique twist or mixing in chocolate chips for a sweet surprise. You can also substitute half of the rice flour with all-purpose flour if you prefer a different texture. For a healthier version, try using coconut sugar instead of regular sugar, which offers a lower glycemic index and a distinct flavor.
Storage and Reheating Suggestions for Leftovers
If you have leftovers, store them in an airtight container at room temperature for up to three days. For longer storage, you can refrigerate them for up to a week. To reheat, simply place the bibingka in a microwave for about 20-30 seconds or warm it in the oven at 350°F (175°C) for about 10 minutes. This will help retain the moistness and fluffiness.
Conclusion
Making Fluffy Coconut Bibingka is not just about the delicious outcome; it’s a celebration of Filipino culture and traditions. As you mix, pour, and bake, you’re participating in a culinary heritage that has been passed down through generations. This delightful dessert encapsulates the joy of sharing food with loved ones, whether during festive gatherings or quiet evenings at home.
We encourage you to explore the rich tapestry of Filipino cuisine, filled with diverse flavors and stories. Each recipe holds a connection to the past, fostering community and preserving cultural identities. So, gather your ingredients, invite some friends or family, and embark on this delightful journey of making and sharing your own Fluffy Coconut Bibingka. Your kitchen will be filled with not just the heavenly aroma of coconut but also the warm spirit of togetherness and celebration.