
Introduction
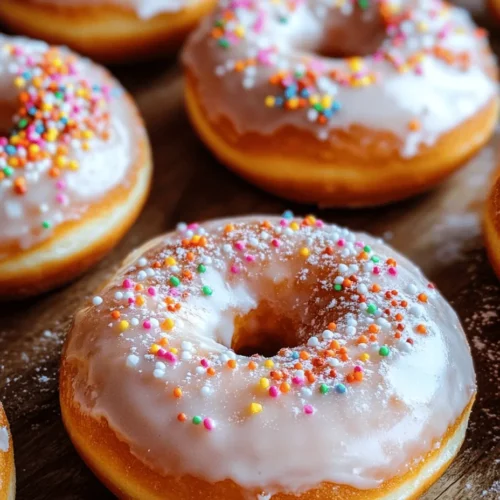
There’s something truly magical about the aroma of freshly baked donuts wafting through your kitchen. Homemade donuts have a unique allure that store-bought varieties simply can’t replicate. The joy of biting into a soft, fluffy donut, glazed to perfection, is an experience that lifts the spirits and tantalizes the taste buds. Whether you’re preparing for a special occasion or just indulging in a weekend treat, making melt-in-your-mouth glazed donuts at home can bring immense satisfaction and delight.
Creating donuts from scratch might seem daunting at first, but with the right ingredients and techniques, you can easily master this delightful treat. The secret to achieving that melt-in-your-mouth texture lies in using fresh ingredients and adhering to traditional methods—an art that has been passed down through generations. This recipe will guide you through each step, ensuring that your homemade donuts are not only delicious but also a feast for the eyes.
In this article, we will delve into the essential ingredients that contribute to the perfect donut, as well as provide you with step-by-step instructions for making these heavenly treats. Whether you’re a seasoned baker or a novice in the kitchen, you’ll find that the process is straightforward and rewarding.
Understanding the Ingredients
Active Dry Yeast: The Heart of the Dough
At the core of every great donut is yeast, specifically active dry yeast. This tiny organism is essential for leavening your donuts, providing the light, airy structure that makes them so enjoyable. When activated properly, yeast ferments the sugars in the dough, producing carbon dioxide gas that causes the dough to rise. This results in the fluffy texture that we all love in a good donut.
To ensure your yeast is active, it’s crucial to proof it before mixing it into your dough. Simply combine warm water (around 110°F or 43°C) with a bit of sugar, then sprinkle the yeast on top. Allow it to sit for about 5-10 minutes until it becomes frothy. If it doesn’t foam, your yeast may be inactive, and you’ll need to start over with fresh yeast. This step is vital—using active yeast is the key to achieving that perfect rise.
The Role of Dairy in Donut Texture
Dairy plays a significant role in creating the rich flavor and smooth texture of your donuts. Whole milk is a staple in this recipe, not just for its nutritional value but also for its ability to create a tender crumb. The fat content in whole milk contributes to the overall moisture of the donuts, ensuring they remain soft and luscious.
Additionally, unsalted butter is another crucial ingredient that enhances both flavor and texture. The buttery richness complements the sweetness of the donuts, creating a luxurious mouthfeel that will have everyone clamoring for seconds. Be sure to use soft, room temperature butter for easier incorporation into your dough.
The Sweetness Factor
When it comes to sweetness, both granulated sugar and powdered sugar play important roles in this recipe. Granulated sugar is used in the dough itself, providing the necessary sweetness and serving as food for the yeast during fermentation. The powdered sugar, on the other hand, is reserved for the glaze, offering a smooth finish that coats the donuts perfectly without being overly gritty.
Finding the right balance between these sugars will ensure your donuts are sweet but not cloying, allowing the other flavors to shine through.
Flour Power: Choosing the Right Flour
The type of flour you choose can significantly impact the structure and texture of your donuts. For this recipe, all-purpose flour is the ideal choice. It strikes a perfect balance between protein content and gluten development, resulting in donuts that are both light and sturdy enough to hold their shape during frying.
If you have dietary considerations or prefer alternative flours, options such as almond flour or gluten-free blends can be used, though adjustments may be needed to maintain the right consistency of the dough.
Step-by-Step Instructions for Perfect Donuts
Activating the Yeast: Ensuring a Successful Rise
The first step in creating your melt-in-your-mouth glazed donuts begins with activating the yeast. As mentioned earlier, proofing the yeast is essential. Start by measuring out warm water and sugar, then sprinkle the yeast on top. Let it rest undisturbed until it becomes frothy, which indicates that the yeast is alive and ready to work its magic.
Making the Dough: Mixing Techniques for Success
Once your yeast is activated, it’s time to begin mixing the dough. In a large mixing bowl, combine the activated yeast mixture with whole milk, softened butter, and granulated sugar. Mix gently until everything is well incorporated.
Next, gradually add in the all-purpose flour. It’s essential to add the flour slowly to ensure an even distribution and to avoid clumping. For the best results, mix the ingredients until they are just combined; over-mixing can lead to tough donuts. You want the dough to be slightly sticky but manageable.
Kneading to Perfection: Achieving the Right Consistency
Kneading is a crucial step in developing the gluten structure of your donuts, which provides elasticity and a delightful chew. Turn the dough out onto a floured surface and begin kneading by folding it over itself and pressing down with the heel of your hand. Rotate the dough a quarter turn after each fold to ensure even kneading.
Knead the dough for about 8-10 minutes until it becomes smooth and elastic. You’ll know it’s ready when you can stretch it slightly without it tearing. This step is essential for achieving that signature melt-in-your-mouth texture.
The First Rise: Creating a Warm Environment
Once your dough is kneaded to perfection, place it in a lightly greased bowl and cover it with a clean kitchen towel or plastic wrap. The dough needs to rise in a warm, draft-free environment, which allows the yeast to ferment and the dough to double in size.
If your kitchen is cool, consider placing the dough in an oven with the light on or near a warm stove. Allow the dough to rise for about 1 to 1.5 hours, or until it has doubled in volume. This step is crucial for achieving a fluffy donut, so be patient and let the yeast do its work.
Shaping the Donuts: Techniques for Uniformity
After the first rise, it’s time to shape your donuts. Punch down the risen dough to release the air, then turn it out onto a lightly floured surface. Roll the dough out to about 1/2 inch thickness. For uniform donuts, use a donut cutter or two round cookie cutters—one large for the outer shape and a smaller one for the center hole.
When cutting the donuts, be sure to press down firmly and lift the cutter straight up to ensure clean edges. Reroll any scraps of dough to cut out additional donuts. Once shaped, place the donuts on a parchment-lined baking sheet, ensuring they have enough space to rise again.
Let the shaped donuts rest for about 30 minutes while you prepare for frying. This second rise will help the donuts achieve that light, airy texture that is so desirable.
By following these detailed steps and understanding the importance of each ingredient, you are well on your way to creating melt-in-your-mouth glazed donuts that will impress your family and friends. In the next part of this article, we will cover the frying process, glazing techniques, and tips for achieving the perfect finish. Stay tuned for the delightful conclusion to your donut-making journey!

The Second Rise: Patience for Perfection
Once you have shaped your donuts, the next step is allowing them to rise again. This second rise is vital for achieving that melt-in-your-mouth texture that everyone craves. During this phase, the yeast continues to work, creating air pockets that contribute to the donuts’ light and airy quality. The result? A donut that is fluffy, tender, and simply irresistible.
When it comes to covering and protecting your shaped donuts during this second rise, it’s essential to keep them warm and draft-free. Use a clean kitchen towel or plastic wrap to cover the donuts, ensuring that they don’t dry out. If your kitchen is chilly, consider placing the covered donuts in a slightly warm oven (turned off) or a microwave with a cup of hot water to maintain a cozy environment for rising.
Frying Techniques for Donut Mastery
Preparing to Fry: The Importance of Oil Temperature
Before diving into frying, it’s crucial to understand the significance of oil temperature. The ideal frying temperature for donuts ranges between 350°F to 375°F (175°C to 190°C). If the oil is too cool, the donuts will absorb excess oil, resulting in greasy treats. Conversely, if the oil is too hot, the outside will brown too quickly while the inside remains raw.
To accurately measure and maintain the oil temperature, use a deep-fry thermometer. This will help you ensure that your oil stays within the perfect range throughout the frying process. If you don’t have a thermometer, you can drop a small piece of dough into the oil; if it sizzles and rises to the surface, the oil is ready.
Safety is paramount when frying at home. Always use a heavy pot to minimize the risk of oil spills, and never leave hot oil unattended. Keep a lid nearby to smother any potential grease fires, and consider using a splatter guard to prevent hot oil from making a mess in your kitchen.
The Frying Process: Achieving Golden Brown Perfection
Once your oil is at the right temperature, it’s time to fry the donuts. Carefully lower each donut into the hot oil using a slotted spoon or a spider strainer, ensuring you don’t overcrowd the pot. Overcrowding can significantly reduce the oil temperature, leading to uneven cooking.
Fry each donut for about 1 to 2 minutes on each side, or until they achieve a beautiful golden brown color. Use a slotted spoon to gently flip the donuts halfway through the cooking time, ensuring even browning. When they are done, carefully remove them from the oil and place them on a wire rack or paper towels to drain any excess oil, which will help keep the texture light and fluffy.
Draining and Cooling: Ensuring the Perfect Finish
To ensure your donuts maintain their perfect texture, employ best practices for draining excess oil. After removing them from the oil, place the donuts on a wire rack instead of paper towels. This allows air to circulate around them, preventing sogginess while maintaining their delightful crispness. Allow the donuts to cool slightly before glazing, as glazing warm donuts can improve adherence and flavor absorption.
Creating the Perfect Glaze
Mixing the Glaze: Achieving the Right Consistency
Now that your donuts are fried to perfection, it’s time to create the glaze that will elevate them to new heights. A classic glaze consists of powdered sugar, milk, and vanilla extract. Start by sifting 2 cups of powdered sugar into a bowl, then add 3 to 4 tablespoons of milk and a teaspoon of vanilla extract. Whisk until smooth, adjusting the milk to achieve your desired consistency. If you prefer a thicker glaze, use less milk; for a thinner glaze, add more.
Glazing Techniques: Ensure Every Bite is Sweet
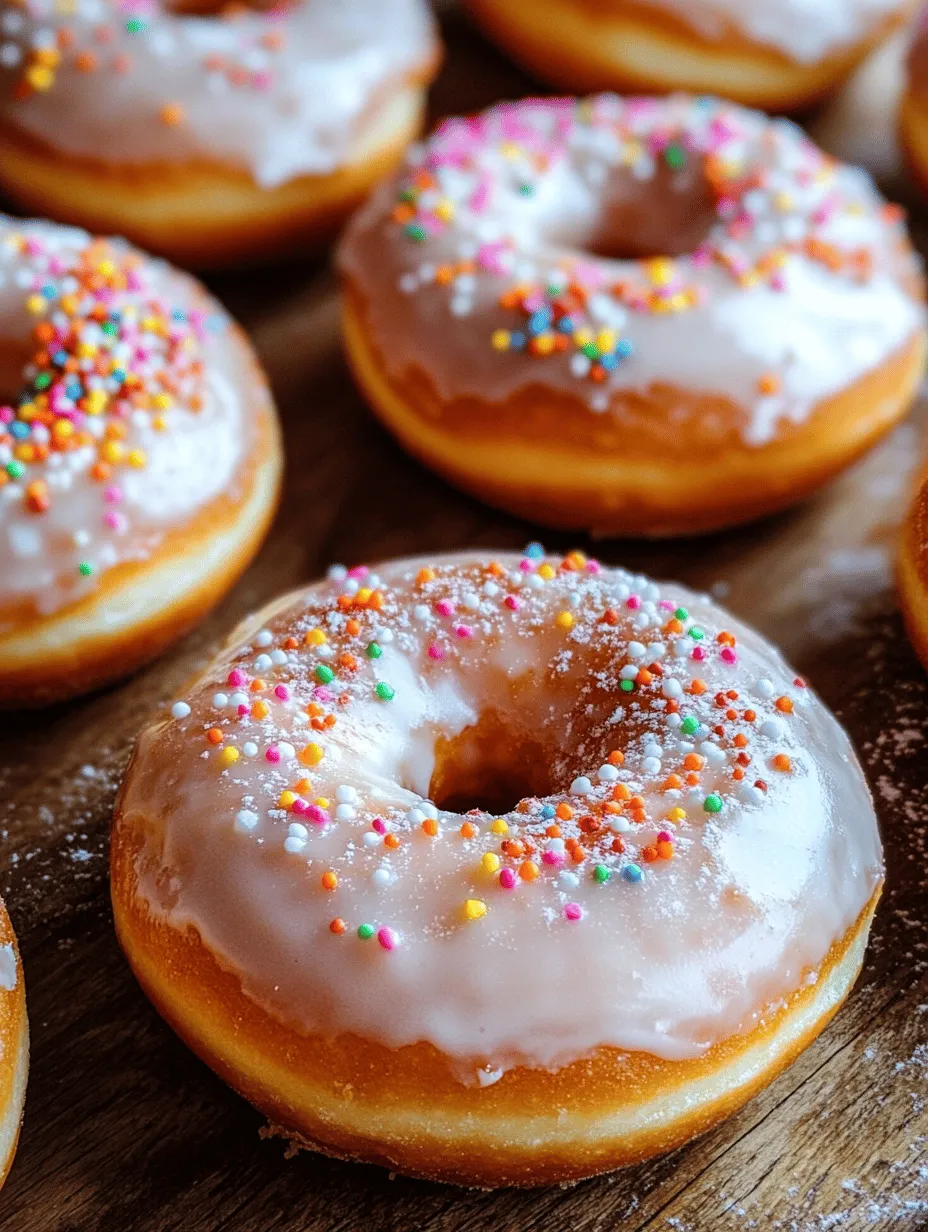
To ensure every bite of your donut is perfectly sweet, glaze them while they are still warm. This will help the glaze adhere better and provide a more delicious flavor experience. Dip the top half of each donut into the glaze, allowing excess to drip back into the bowl. Place the glazed donuts on a wire rack to set, which will create a beautiful, smooth finish.
For those looking to enhance their glazed donuts even further, consider adding toppings. Sprinkles, chopped nuts, or a dusting of cocoa powder can add both flavor and visual appeal. Get creative with flavors by incorporating citrus zest, spices, or even flavored extracts into your glaze for a unique twist.
Serving and Storing Your Donuts
Presentation Ideas: Making Your Donuts Stand Out
Presentation is key when serving your homemade donuts. To make them visually appealing, consider using a simple platter or a tiered dessert stand to showcase your donuts. Dust them with additional powdered sugar or drizzle with melted chocolate for an elegant touch. Fresh fruits or edible flowers can also be included for a pop of color.
Pairing your donuts with beverages can elevate the experience. Coffee, tea, or even a glass of milk are classic accompaniments. For something a bit different, consider serving them with flavored lattes or herbal teas that complement the sweetness of the donuts.
Storing Leftovers: Keeping Your Donuts Fresh
If you find yourself with leftover donuts, proper storage is essential to maintain their freshness. Store them in an airtight container at room temperature for up to two days. If you anticipate not finishing them within that timeframe, consider freezing them. To freeze donuts, place them in a single layer on a baking sheet until solid, then transfer them to a freezer bag. This prevents them from sticking together and allows you to enjoy a fresh donut later.
To revive frozen donuts, simply let them thaw at room temperature for a few hours, or warm them up in the microwave for a few seconds. You can also re-glaze them after warming for that fresh-out-of-the-fryer taste.
Nutritional Information
When it comes to homemade donuts, the nutritional content is vastly different from store-bought options. While the calorie count can vary based on the size and ingredients used, a standard glazed donut can contain approximately 200-300 calories. However, making them at home allows you to control the ingredients, creating a treat that can be made with less sugar or healthier fats.
By opting for homemade, you also avoid the preservatives and artificial ingredients often found in commercial donuts. Moreover, you can experiment with ingredient substitutions, such as using whole wheat flour or natural sweeteners, to make your donuts a bit healthier.
Conclusion
Creating melt-in-your-mouth glazed donuts is not just about following a recipe; it’s an experience filled with joy, creativity, and satisfaction. From the delightful aroma wafting through your kitchen to the first bite that melts in your mouth, every step is a celebration of homemade goodness. Don’t hesitate to explore different flavors and toppings, allowing your personality to shine through your creations. The journey of baking not only hones your culinary skills but also brings a sense of accomplishment that will keep you coming back to the kitchen for more. So roll up your sleeves, embrace the process, and enjoy every delicious moment of making these delightful treats.