
Introduction
Pizza is more than just a dish; it is a cultural staple that has transcended borders and become a beloved favorite around the world. From classic Margheritas to extravagant gourmet toppings, the versatility of pizza allows it to cater to every palate. However, at the heart of every great pizza lies one crucial element: the dough. A masterful pizza dough serves as the foundation for an exceptional pizza experience, influencing not only the taste but also the texture and overall enjoyment of the dish.
In this article, you will embark on a culinary journey to learn how to craft the perfect artisan pizza dough right in your own kitchen. This comprehensive guide will provide you with step-by-step instructions, tips, and insights into the ingredients that make up this delightful dough. Whether you are a seasoned cook or a novice in the kitchen, our detailed approach will empower you to create a delicious base for your favorite pizza creations.
Understanding Artisan Pizza Dough
Artisan pizza dough is characterized by its unique texture, flavor, and the craftsmanship that goes into its preparation. Unlike standard pizza dough, which may be made with commercial practices in mind, artisan dough embraces a more traditional approach rooted in quality and technique. Artisan pizza dough is often hand-crafted, allowing for a depth of flavor and a chewy, airy crust that is simply unparalleled.
Definition and Characteristics of Artisan Pizza Dough
Artisan pizza dough is typically defined by its use of high-quality ingredients and a longer fermentation process. This results in a dough that is not only flavorful but also has a light, airy structure due to the development of gluten. The dough is usually allowed to rise slowly, which enhances its flavor profile and creates a more complex taste.
The characteristics of artisan pizza dough include:
– Chewy Texture: Thanks to the gluten development, artisan dough offers the perfect balance of chewiness and crispiness.
– Rich Flavor: The slow fermentation process allows the dough to develop a rich, slightly tangy flavor.
– Airy Crust: Properly kneaded and allowed to rise, artisan dough will produce a crust that is light and full of bubbles.
Comparison with Other Types of Pizza Dough
When comparing artisan pizza dough to other varieties, such as Neapolitan or deep-dish dough, the differences become apparent. Neapolitan dough is known for its simplicity, often made with just flour, water, salt, and yeast, and is traditionally cooked at very high temperatures in a wood-fired oven. It results in a soft, pliable crust with a slightly charred exterior.
On the other hand, deep-dish pizza dough is thicker and more bread-like, often incorporating more fat and a higher hydration level to create a buttery, flaky crust. While each type of dough has its own merits, artisan pizza dough stands out for its balance of flavor and texture, making it a favorite for home cooks and pizzerias alike.
The Role of Ingredients in Achieving the Perfect Texture and Flavor
The magic of artisan pizza dough lies in the quality and balance of its ingredients. Each component contributes to the overall flavor, texture, and performance of the dough. Understanding the role of these ingredients is essential for achieving the perfect artisan pizza dough.
Ingredients Breakdown
Before diving into the preparation process, let’s take a closer look at the essential ingredients that will form the backbone of your artisan pizza dough.
All-Purpose Flour
The foundation of any good pizza dough is the flour. All-purpose flour is commonly used in artisan dough due to its balanced protein content, which typically ranges from 10-12%. This protein is crucial for gluten development, giving the dough its structure and chewiness. For a more authentic artisan experience, consider using bread flour, which has a higher protein content (around 12-14%) and can produce an even chewier crust.
Sea Salt
Salt is not only a flavor enhancer but also plays a vital role in the fermentation process. It strengthens the gluten structure and helps regulate yeast activity, ensuring that the dough rises properly while enriching the overall flavor. Use high-quality sea salt for the best results, as it dissolves more easily and provides a cleaner taste.
Sugar
While sugar might not be a primary ingredient in traditional pizza dough, a small amount can help activate the yeast during the fermentation process. It acts as food for the yeast, resulting in a more robust rise and contributing to a subtle sweetness in the crust. This balance of flavors is essential for creating a well-rounded dough.
Active Dry Yeast
Yeast is the key ingredient that allows the dough to rise. Active dry yeast is commonly used in artisan recipes due to its reliability and ease of use. It is essential to ensure that your yeast is alive and active before mixing it into the dough. A simple test involves dissolving it in warm water with a bit of sugar; if it becomes frothy after a few minutes, it’s ready to use.
Olive Oil
Olive oil adds richness and flavor to the dough while also contributing to its elasticity. This allows the dough to stretch without tearing, making it easier to shape into your desired pizza form. Additionally, a touch of olive oil can enhance the browning of the crust, resulting in a beautiful golden finish.
Warm Water
Water is a crucial element in activating the yeast and hydrating the flour. The temperature of the water should be warm—around 100°F to 110°F—to ensure that it activates the yeast without killing it. Proper hydration also plays a significant role in the texture of the final dough, making it pliable and easy to work with.
Cornmeal
While not always included in the dough itself, cornmeal is often used as a dusting agent when baking pizza on a stone or sheet. It helps to prevent sticking and adds a slight crunch to the crust. Cornmeal can elevate the texture of the finished pizza, enhancing the overall experience.
Step-by-Step Instructions for Mastering Pizza Dough
Now that you understand the critical ingredients for artisan pizza dough, let’s dive into the step-by-step process of making it. Follow these instructions carefully to ensure your dough turns out perfect every time.
Activating the Yeast
The first step in creating your artisan pizza dough is to activate the yeast. This process is vital to ensure that your yeast is alive and ready to work its magic in the dough. Start by measuring out warm water into a mixing bowl. Add a teaspoon of sugar to the water, which will provide food for the yeast. Sprinkle the active dry yeast over the water’s surface and let it sit for about 5-10 minutes. You should see bubbles forming on the surface, indicating that the yeast is active.
Mixing Dry Ingredients
In a separate bowl, combine your dry ingredients. Measure out the all-purpose flour and add in the sea salt. This is the foundation of your dough—make sure to mix the dry ingredients thoroughly so that the salt is evenly distributed throughout the flour. This step is crucial, as it ensures that the salt interacts well with the yeast when you combine the ingredients later.
Combining Ingredients
Once your yeast is activated and your dry ingredients are mixed, it’s time to bring everything together. Create a well in the center of the flour mixture and pour in the activated yeast mixture along with the olive oil. Use a wooden spoon or your hands to gradually incorporate the flour into the wet ingredients, mixing until a shaggy dough begins to form.
This initial combination is essential as it helps to evenly distribute the yeast and ensures that the hydration from the water reaches all the flour particles, setting the stage for a smooth dough.
Kneading the Dough
After the dough has come together, transfer it to a lightly floured surface for kneading. Kneading is a crucial step for developing gluten, which will give your pizza dough its characteristic chewiness. Begin by pressing the dough gently with the palms of your hands and folding it over on itself. Rotate the dough a quarter turn and repeat the process.
Knead the dough for about 8-10 minutes until it becomes smooth and elastic. You can test the dough’s readiness by performing the “windowpane test.” Take a small piece of dough and stretch it gently; if it stretches without tearing and you can see light through it, your dough is well-kneaded.
This detailed approach to crafting artisan pizza dough sets the foundation for a delicious pizza experience. In the next part of this guide, we will cover the fermentation process, shaping techniques, and baking tips to help you achieve that perfect pizza crust. Stay tuned as we continue to explore the art of pizza making!
First Rise: Creating a Warm Environment for Optimal Fermentation
Once you’ve mixed your ingredients into a cohesive dough, it’s time for the first rise. This step is crucial for developing flavor and texture. To create an ideal environment for fermentation, find a warm, draft-free location in your kitchen. A temperature range of 75°F to 80°F (24°C to 27°C) is optimal for yeast activity. If your kitchen is cool, you can place the dough in an oven (turned off) with the light on, or near a radiator. Cover the bowl with a damp cloth or plastic wrap to maintain moisture and prevent a crust from forming on the surface of the dough.
Allow the dough to rise for about 1 to 2 hours, or until it has doubled in size. This process not only allows the yeast to produce carbon dioxide (which creates those lovely air pockets) but also enhances the dough’s flavor through fermentation. Don’t rush this process; the longer the dough ferments, the richer the flavor will be.
Shaping the Dough: Techniques for Portioning and Forming Dough Balls
Once your dough has risen, it’s time to shape it into manageable portions. Start by lightly flouring your work surface to prevent sticking. Turn the dough out from the bowl and gently deflate it to release excess gas. Use a bench scraper to divide the dough into equal pieces, typically about 8 ounces each for a standard pizza size.
To form the dough balls, take each piece and pull the edges toward the center, creating a tight ball shape. Rotate the ball on the work surface to tighten the surface, which is important for creating a good structure in your dough. Once all dough balls are shaped, place them on a floured tray, cover them with plastic wrap, and let them rest for another 30 minutes. This allows the gluten to relax, making it easier to stretch later on.
Preheating the Oven: Preparing for the Perfect Bake
While the dough is resting, it’s essential to prepare your oven. For optimal pizza baking, preheat your oven to the highest temperature possible—usually around 500°F (260°C) or more if your oven allows. If you have a pizza stone, place it in the oven to heat up as well. The stone will help to create a crispy crust by providing an even, high heat from below.
If you don’t have a pizza stone, you can use an inverted baking sheet. Place it in the oven during preheating, so it gets hot enough to mimic a stone’s effect. Preheating typically takes about 30 minutes, so plan accordingly.
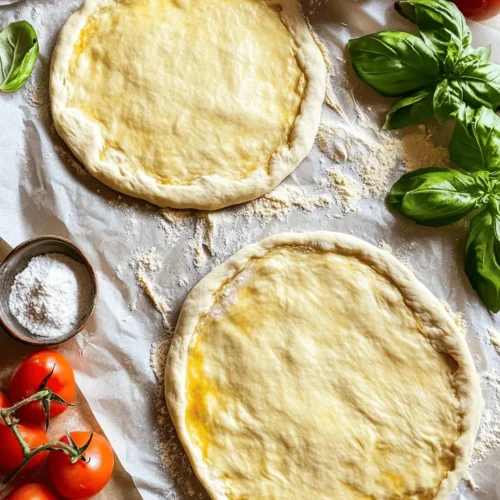
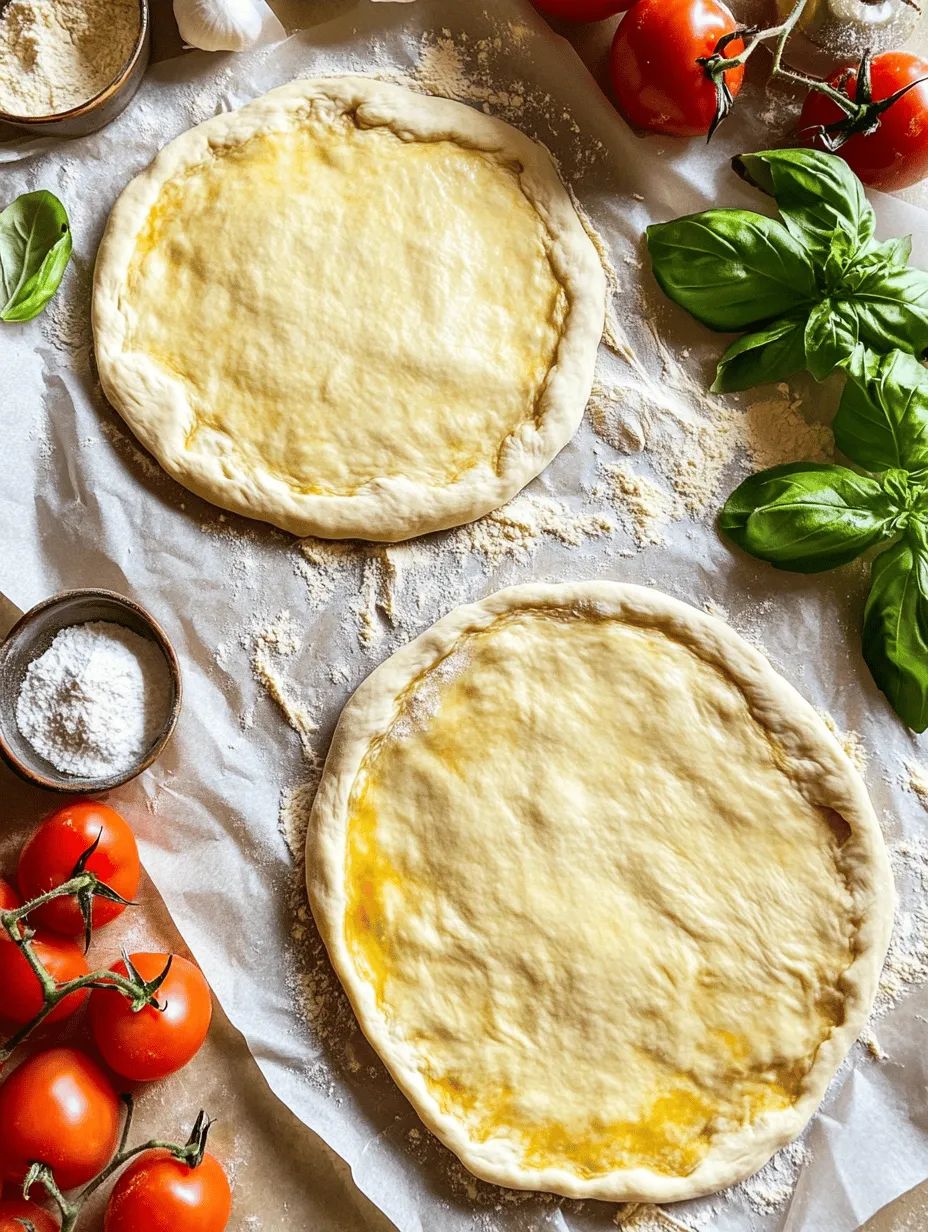
Forming the Pizza Bases: Stretching Techniques for the Ideal Crust
With your dough balls rested and your oven hot, it’s time to form your pizza bases. Start by sprinkling some flour on your work surface to prevent sticking. Gently flatten the dough ball with your fingertips, pressing from the center outward to create a disc shape.
To stretch the dough, use a technique called the “dough toss.” Hold the dough disc with both hands and gently lift it, allowing gravity to help stretch it. Rotate the dough as you stretch to maintain a round shape. If you prefer, you can also use a rolling pin, but be cautious as this technique can deflate the air pockets developed during fermentation.
Aim for a thicker edge for the crust and a thinner center for even cooking. Once the dough is shaped to your liking, place it on parchment paper or a pizza peel dusted with flour or cornmeal to facilitate easy transfer to the oven.
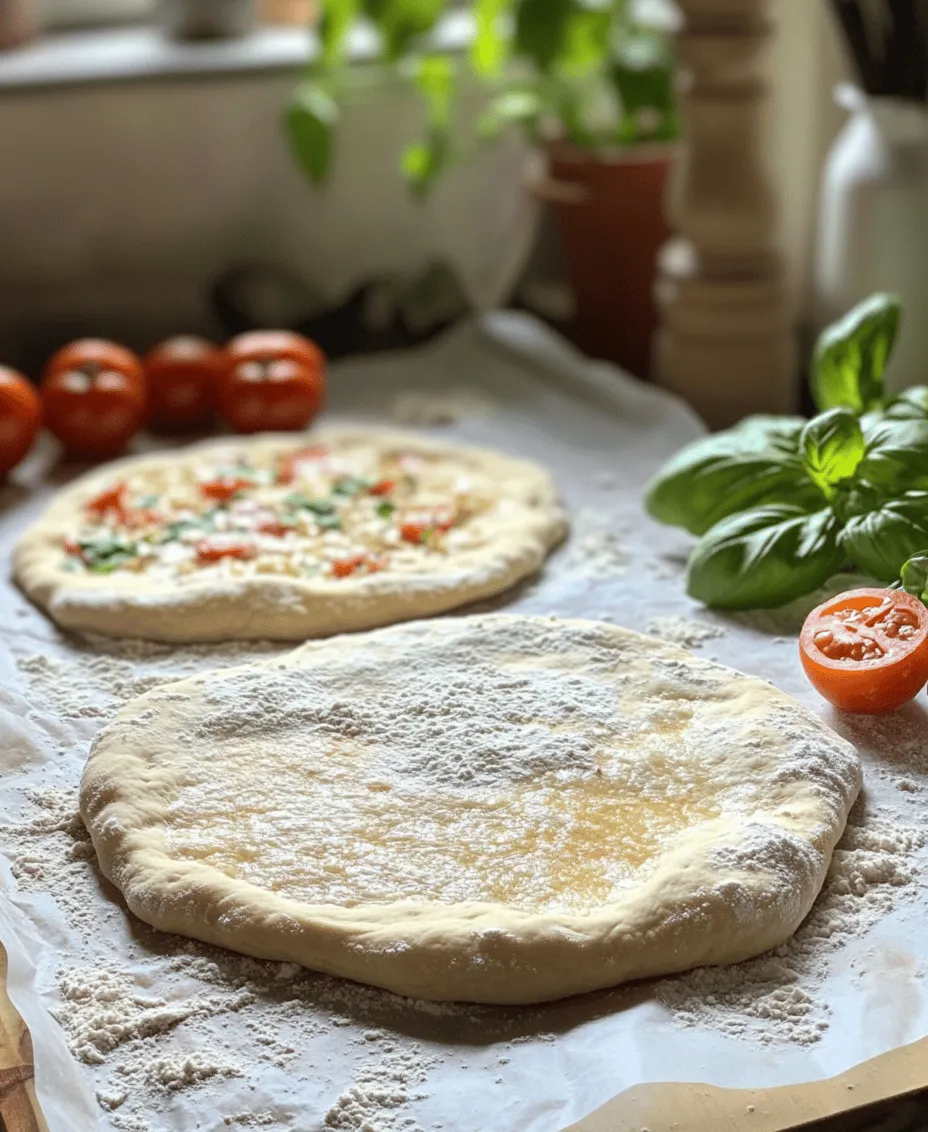
Adding Toppings: Suggestions for Classic and Gourmet Toppings
Now comes the fun part: adding toppings! When it comes to pizza, the options are endless. For a classic Margherita pizza, spread a thin layer of tomato sauce over the base, followed by fresh mozzarella cheese, a sprinkle of salt, and fresh basil leaves. Drizzle with olive oil before baking.
For gourmet options, consider toppings like prosciutto, arugula, and goat cheese for a sophisticated flavor profile, or caramelized onions, blue cheese, and figs for a sweet and savory combination. As a rule of thumb, aim for balance; don’t overload your pizza with toppings to ensure even cooking. A light hand allows for the crust to shine, while also providing a harmonious blend of flavors.
Baking the Pizza: Tips for Achieving the Perfect Crust Color and Texture
With your pizza topped and ready to go, it’s time to bake! Carefully slide your pizza onto the preheated stone or baking sheet in the oven. Bake for about 8 to 12 minutes, depending on your oven and the thickness of your crust. Watch for the crust to turn a beautiful golden brown and for the cheese to bubble and slightly brown.
If you find that the crust is browning too quickly, you can rotate the pizza halfway through the baking time to ensure even cooking. To achieve a perfectly crispy crust, consider using a pizza peel to remove the pizza from the oven. Avoid opening the oven door too frequently, as this can lower the temperature and lead to uneven baking.
Enjoying Your Pizza: Serving Suggestions and Pairing Ideas
Once your pizza is baked to perfection, allow it to cool for a minute or two before slicing. This brief rest allows the cheese to set slightly, making for cleaner slices. Serve your pizza on a wooden board or a large platter, and consider garnishing with a sprinkle of fresh herbs or a drizzle of olive oil for an extra touch.
Pair your masterpiece with a fresh salad, like a simple arugula salad dressed with lemon and olive oil, or a classic Caesar salad for a touch of indulgence. For beverages, a crisp white wine or a light beer complements the flavors beautifully.
Troubleshooting Common Dough Issues
Even the most skilled pizza makers encounter challenges. Here are some common issues you might face with your dough and how to fix them:
Addressing Sticky Dough: Solutions and Adjustments
If your dough is too sticky after mixing, it may be due to excess moisture. You can remedy this by adding small amounts of flour, a tablespoon at a time, until the dough reaches a workable consistency. Additionally, ensure you’re using the correct flour type, as high-protein bread flour yields better results for pizza dough.
Over-proofed Dough: Recognizing Signs and Remedies
If your dough has risen too long, it might become overly puffy and lose its structure. Signs include a dough that collapses or feels overly soft. If this happens, gently deflate the dough and reshape it to allow for a shorter second rise. Monitor the dough closely, aiming for a balanced rise that maintains its elasticity.
Under-proofed Dough: How to Salvage and Improve Rise
If your dough hasn’t risen enough, it may be dense and tough. To salvage it, let it rest in a warm area for an additional 30 minutes before shaping. This extra time allows the yeast to become active again and develop flavor.
Unevenly Baked Crust: Tips for Proper Oven Heating and Placement
If your crust bakes unevenly, check your oven’s temperature calibration. You may also need to adjust the placement of your pizza stone or baking sheet in the oven. Ideally, place it on the middle rack for even heat distribution. If using a pizza stone, ensure it is fully preheated for at least 30 minutes for optimal results.
The Science Behind Pizza Dough
Understanding the science behind your pizza dough can enhance your baking skills.
The Fermentation Process: How Yeast and Bacteria Work Together
Yeast is a key player in dough fermentation. As it consumes sugar, it produces carbon dioxide, which causes the dough to rise. This fermentation also develops flavor through the production of organic acids. Using a mix of yeast and bacteria (like in sourdough) can enhance this flavor complexity.
Gluten Development: The Importance of Kneading and Resting Times
Kneading helps develop gluten, the protein structure that gives pizza its chewiness. Proper kneading creates an elastic dough that holds its shape. Resting the dough after kneading allows gluten to relax, making it easier to stretch without tearing.
The Impact of Temperature on Dough: Understanding Its Effects on Yeast Activity
Temperature directly affects yeast activity. Yeast thrives at warm temperatures, while cooler temperatures slow down fermentation. This understanding helps you manipulate rising times based on your kitchen conditions, ensuring consistent results with your dough.
Cultural Variations of Pizza Dough
Around the world, pizza takes many forms, each with unique ingredients and techniques.
Brief Overview of Pizza Styles Around the World
From Neapolitan to New York-style and Chicago deep-dish, each pizza style showcases regional preferences and cooking methods. Neapolitan pizza is characterized by its soft, chewy crust and simple toppings, while New York-style pizza boasts a thin, foldable base with a variety of toppings.
Highlighting Unique Ingredients or Techniques from Different Cultures
In Italy, you might find pizza made with “00” flour, which creates a tender yet chewy crust. In contrast, some American styles may incorporate sugar for a sweeter dough or use cornmeal for added texture. Exploring these variations can inspire your own pizza-making journey.
How to Incorporate These Influences into Your Own Artisan Dough
Don’t be afraid to experiment! Incorporate different flours, like semolina for a rustic texture, or add herbs and spices to your dough for an extra flavor boost. Try different hydration levels to create a unique crust that reflects your culinary preferences.
Conclusion
Mastering pizza dough is essential for creating a fulfilling pizza experience at home. It allows you to explore flavors, textures, and toppings, making each pizza unique to your taste. As you hone your skills, don’t hesitate to experiment with different ingredients and techniques; this is where the joy of homemade pizza-making lies.
Whether you’re crafting a classic Margherita or an adventurous gourmet pie, the process of making pizza from scratch is a delightful culinary adventure that brings family and friends together. So roll up your sleeves, gather your ingredients, and embark on this delicious journey—you’ll be rewarded with not just a meal, but a memorable experience filled with creativity and joy.